How Do I Start Photography? | Model Factory
- 17 Mar 2021
- Models
Photography is fun and exciting. So, if you like to take pictures anywhere you go and are looking for simple ways to improve your photography skills or master the basics, this Beginner's Guide to Photography will help you build a strong foundation. will help. We have listed 25 simple tips that will help you become better at your craft and take the stunning pictures you have always wanted.
However, you may remember that photography as an art is a never-ending process of learning. It's technical skills, an amalgamation of ideas, and creativity. Even as a professional photographer, there will always be more than you can learn. So you have to keep practicing. The more you shoot, the better results you will get. Remember, an ideal picture is one that requires minimal editing.
Here are Some Photography Tips for beginners:
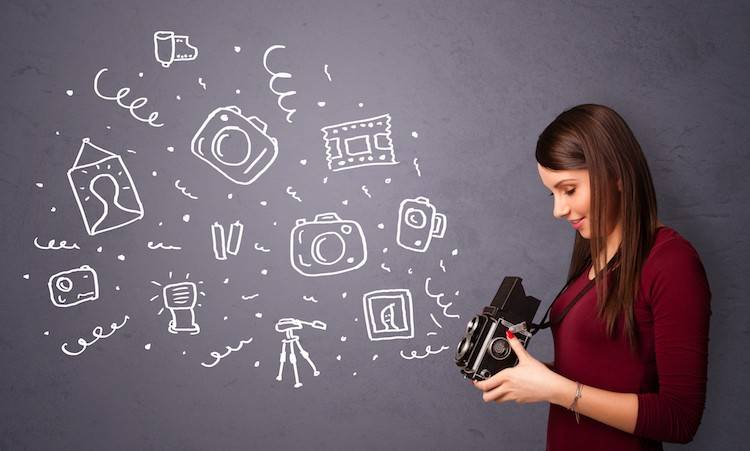
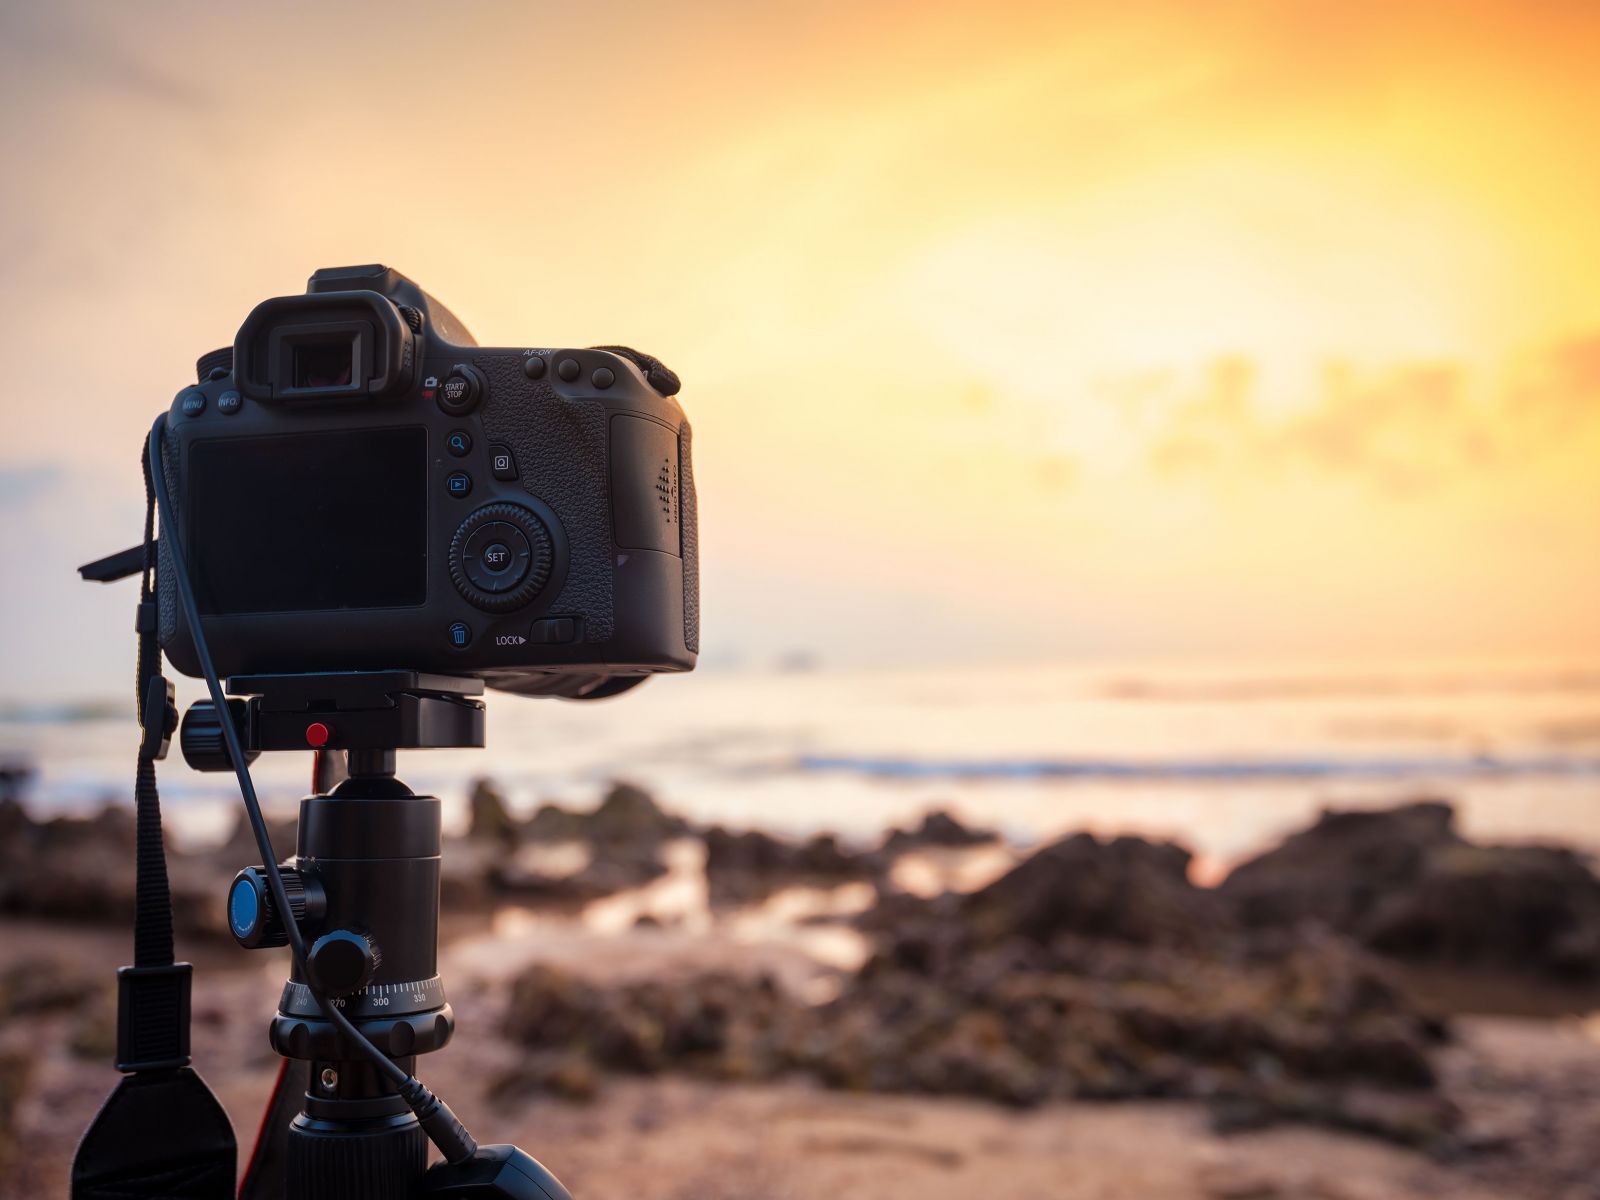
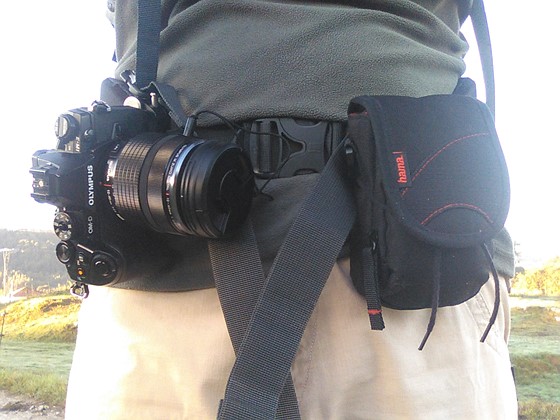
Start with Basic Equipment:
.jpg)
The range of photography equipment available today is amazing. New cameras are being launched every day with bigger sensors and better processing power. We all want bigger and better gear. But remember that this is not the camera that the photographer makes. You must know how to use the tools to create the image you have in your head. This is one of the basic photography tips that is obvious but difficult to practice. You can start shooting with your smartphone, regular camera, or DSLR.
An entry-level DSLR (digital single-lens reflex) is a compact camera and is known to work best for newbies and amateur photographers. The reason for this is that they are comparatively less expensive, easy to carry, manage and understand.
Basic Understanding a Camera Settings:
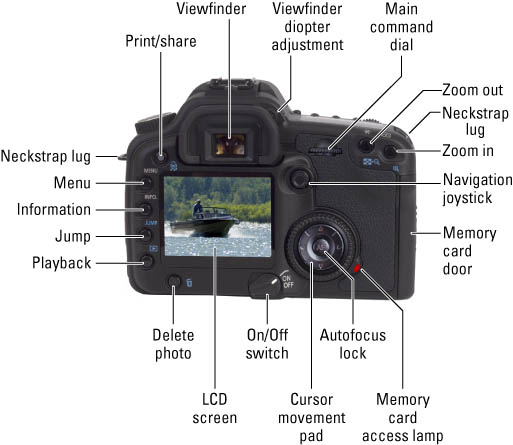
Camera settings require an essential element of photography that you master. Exposure is the key to making a great picture. Exposure, aperture, shutter speed, mix to make ISO. When combined, all three control the number of settings the sensor reaches that light.
Find the right and proper balance of these settings before taking a photo. A photography guide that explains the basic concept of aperture, shutter speed, and ISO will clear your core principles and help you apply these creatively in the journey ahead.
Practice, Practice, Practice:

It went some photo tips for you: Every shot a day painting. This is the only way it will be better if you do. The 365-day project began.
Use Pinterest to make some creative board for motivation and curate your best shots to follow a particular style. Do not be afraid to experiment. You learn a lot in this process.
Use Appropriate Lens:
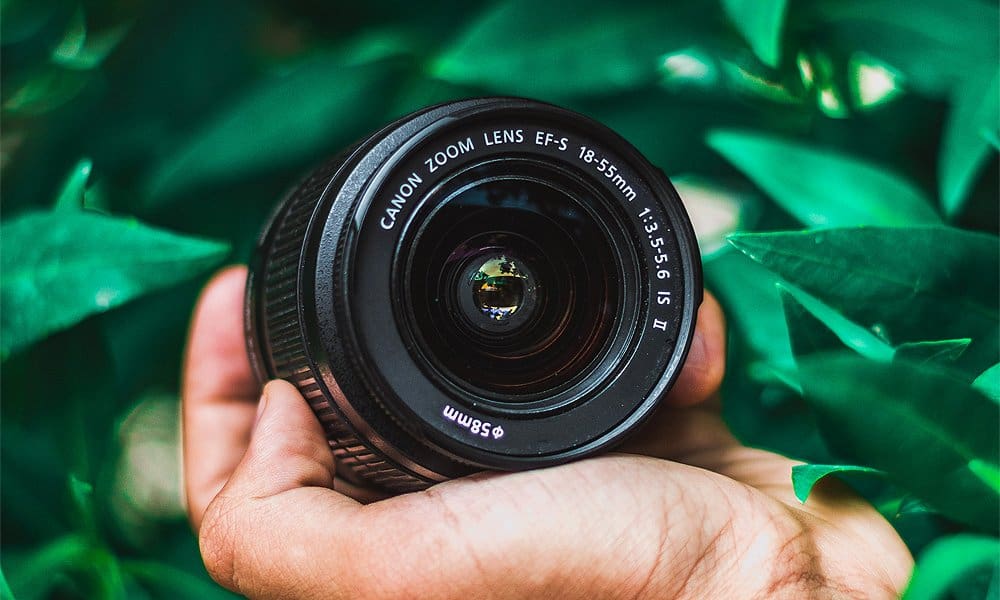
In any style of photography, it is important to get the right, sharp images to choose the right lens. A lens helps to configure picture quality and enhances the desired effect. Someone before taking the shot, make sure that the lens is clean.
Do not clean the lens from inside, as it may be damaged. Different lenses are used on different occasions. For example, you shoot small objects or insects on a regular basis, then you will need a macro lens to capture details and make the object look larger.
Zoom Lens or Prime Lens:

It all does what and where to shoot you up to this point. First, let us look at the difference. A lens with a fixed focal length is a prime lens, while a lens that has a variable range of focal length is a zoom lens. With the prime lens, you have to move back and forth with the camera to see your subject. The zoom lens helps you stand in one position, and its focal length will continue to mark the distance.
The prime lens gives you a shallow depth of field. It is better for low-light photography. It also provides better sharpness and image quality. The zoom lens brings you versatility, portability, and all in one, a less expensive deal. Depending on your needs, choose your lens wisely and carefully so that it can serve you in most of your working conditions.
Use Automatic Mode:

As a beginner, it is difficult to understand all manual settings and use them effectively. The good part is, the auto mode always works, whether it's dim or very bright. The automatic mode adjusts the settings accordingly and makes it easier for the photographer to focus on the subject. You will not need to adjust shutter speed and ISO sensitivity. You can concentrate completely on the composition. You will not need to think about light exposure and frequency.
Auto mode is a learning tool for amateur photographers. You will eventually begin to understand the risk triangle. This will help you manage better manual settings for later use.
Work On The Visuals:

Photography is an art, it is a great way of communication. Many times, a picture feels better than a person. It depends on how creative you can be with what you have. If you use strong visual elements, the photo may be more attractive and practical for the viewer. Use colors, lights, objects, and shapes to fill the details and bring a texture to the image. This will help to display your scenes in a very effective way.
Learn To Compose:

Here are some photography ideas for early photographs:
- Pay attention to symmetry. This will tell you where the correct angle for the frame.
- Use natural frames such as windows, open doors, curtains to make it look natural.
- Contrast is an excellent storyteller, and it is even better when used between subject and background.
- Keep both eyes on the action and keep the dominant eye in the center.
- Patterns are better when colliding. They enhance the aesthetic atmosphere and theme.
- Use diagonals for uneven space. This will create geometry for you.
The composition is necessary when preparing the scene. The right balance can strike a viewer's mind for longer.
Focus on Prime Area and Visualize:

Many photography guides will tell you this, but only a creative mind can do it. Imagine standing in a beautiful place, wishing to capture all of this in one picture. Now, think about how you can completely organize the scene in the picture.
To locate the desired shot, the first step would be to observe the place. Look around and mark the distance. Focus on the prime area, imagine the kind of image you want to capture. Accordingly, change settings and go once through the picture. Be sure to imagine before taking the shot.
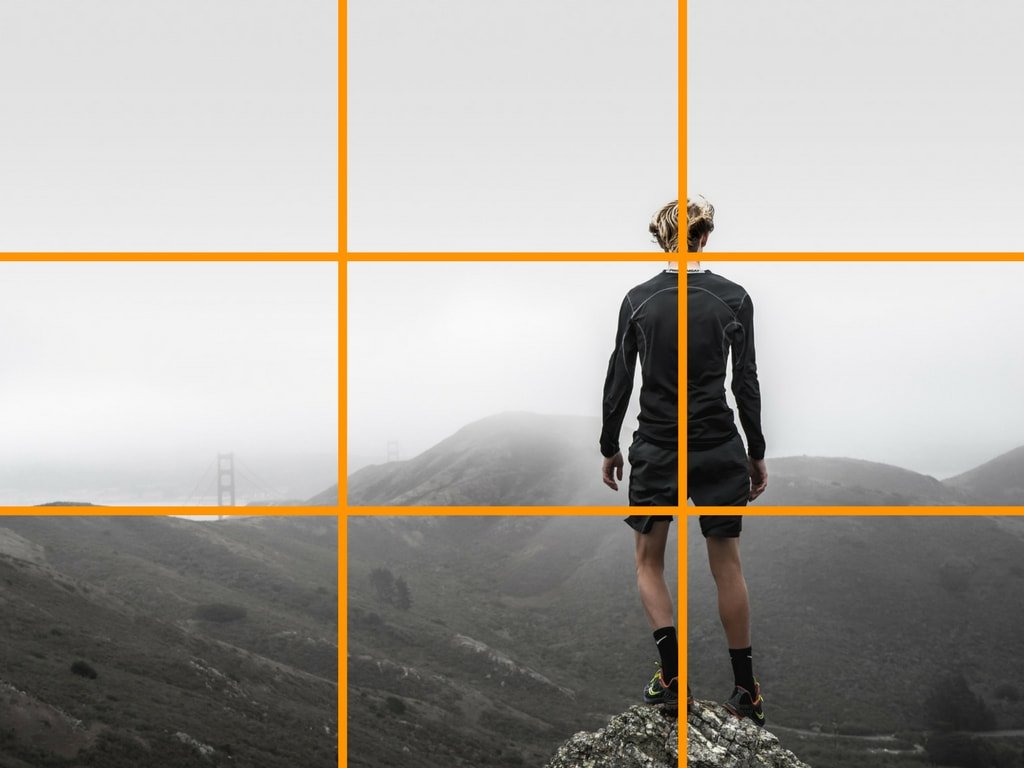
Learn The Rule Of Thirds:
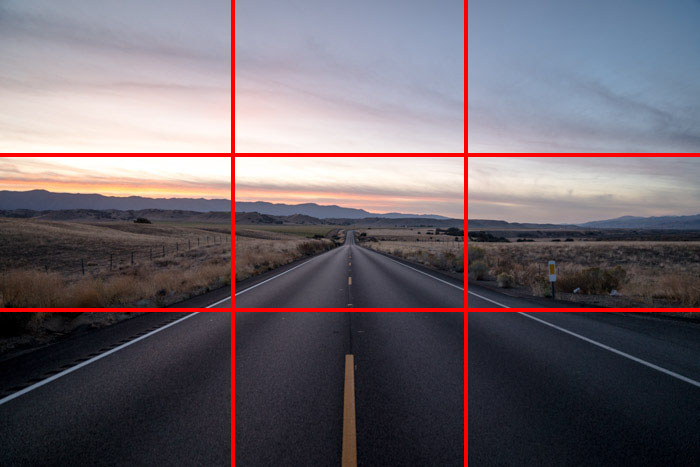
The law of thirds is quite popular in the world of photography. It is commonly learned by beginners in photography in early lessons. The use of four lines rules thirds. You place two rows horizontally and two rows vertically so that it all together creates a grid of nine squares. So you divide the picture into these boxes to get a better knowledge of the image and the scene. Geometry helps in positioning the subject.
The principle is to mark the balance of a picture and place points of interest at the intersections to make it look more professional. It is observed that the viewer inadvertently focuses on points of intersection more than the rest of the picture.
Focus On Lighting:

Balanced light is one of the essential elements of a good picture. Once you take a picture with proper lighting, half of your work is done. Well, not enough light is limited to the moon, sunset, or starry sky. This, again, is the art of manipulation.
How much light is needed to know good photographer conditions? Whether you are shooting in natural light or with an artificial source, how can you use it to improve your photos?
In the case of deep light, artificial illumination will be required more than natural ones to create clarity in the picture. By using extra light on your subject, you will be able to fill those ugly shadows. It is about balancing the light and creating contradictions even in ordinary space.
For hand photographs, it would be better to wait for bright light to come in shape than to use flash. Wedding photographers can better understand the change that artificial light can make in a fast-moving wedding photoshoot.
Don't Underexpose or Overexpose the Highlights:
As you know, aperture, shutter speed, and ISO sensitivity play an influential role in illuminating an image. Of which, shutter speed and aperture exposure are. For a great view, the shutter needs to be slow, and the ISO number needs to be large. for a more dark color, the shutter needs to be sharper and the ISO number should be lower. These quick photography tips for beginners are a bit difficult to understand but once you get them, they will save you a lot of time.
When the picture is too bright for the frame, a picture is darker than required, while it is darker than the image. Both defaults can starkly define a good photo. For the correct performance, make sure that both the shadow and highlight are balanced with proper brightness and darkness.
The balance can be managed by setting and resetting shutter speed and ISO sensitivity until the correct speed is reached. Food photography for beginners is one of the tips that you should keep in mind, as the wet part of the food quickly becomes overdone due to reflection. You should use gobos or soft light to manage such reflections.
Avoid Blurry Pictures:

Blur pictures are a major disappointment for viewers and photographers. Sometimes, the lights, the atmosphere, everything is set correctly, and when you examine the pictures, they become blurred with a completely disappointing glow. If this happens frequently, you can turn on the autofocus mode to get a clearer picture.
If the subject is moving, use the manual settings and shutter speed to reduce the possibility of any further blurring. If the subject is not moving, use AF-S or One-Shot to focus on your subject and protect the photo from blurring. Sharpening the photo is one of the easiest photography tips for beginners that you pay attention to.
The only exception is when you intentionally click on a blurred image based on your creative decisions.
Camera Should Be Still:

You see the awe-inspiring landscape where everything is still calm and perfect. You get ready to shoot it, and after taking a picture, you see it. The picture looks blurred, distorted, and without any geometry. You wonder what went wrong and you notice that at this moment, your camera is shaking because you forgot to bother about it.
"Buy a camera stand or a tripod to ensure your camera's clarity and sharp photos are guaranteed."
Do not depend on your ability to hold the camera for a long time. DSLR photography for beginners is all about taking into account such small but important things as a step towards something bigger and better in the future.
Work According To The Straight Lines:
The straight lines express many moods, and each viewer has a different opinion when viewing them. Whether it is vertical lines or horizontal, both represent a wide variety of interests. For example, if you place a line in the middle of the picture, it will split them in half, and now each part will have a different story. This leaves a dramatic effect on the viewer, such as a tree divided into two parts. Especially for a classic background, straight lines are a perfect choice.
Once you start seeing them, there is no way you can escape. It is like a composition in a viewer's mind. So make sure to compose correctly during the shot as editing may not fix them naturally.
Learn about Filters And Their Usage:

Here's a tip for digital photography beginners: use the right filters. In digital photography, camera lens filters are used to improve the texture and make the pictures look more attractive.
These filters include:
- Linear & Circular Polarizer is used to Reduce Glare, Improve Saturation.
- Their subjects are mainly Sky / Water / Foliage in Landscape Photography.
- Neutral Density (ND) helps to Extend Exposure Time mainly used for Waterfalls, Rivers under bright light.
- Graduated Neutral Density (GND) controls Strong Light Gradients and Reduces Vignetting.
- These are generally used for dramatically lit landscapes.
- UV / Haze helps to Improve Clarity with Film Provide Lens Protection and can be used for any subject matter.
- Warming / Cooling is used to Change White Balance. Its subjects are Landscapes, Underwater, and special lighting.
Capture Carefree And Then Enhance:

As a photographer. If only you cared about the right shots and were conscious of every photo, you would eventually lose grip. Let your delicate fingers go with the flow. The capture of 'what if' and 'what not'. Shoot everything that captivates you and is not conscious of the consequences. Once you get that one irreplaceable moment in your camera, enhance it a bit with highlights and post-process for better results. After editing, check for minor details and work with it. Your work is very much appreciated.
Learn about Post-Processing:

No one can deny the fact that many beautiful pieces have been created through post-processing. Almost every shot the photographer post-processes before its finals. It helps to beautify the image. It also works as a great patch to fix underlining parts. After a picture is taken, it is helpful to post it to modify unposted areas. But remember, there must be a balance. It doesn't have to be much; Paramount photography tips for beginners; do not overdo!.
Tips For Portrait Mode:
.jpg)
Below are some quick photography tips for beginners trying to use the picture mode:
- Write your topic. It gives the subject a picture.
- Use wider angles to capture better and memorable shots.
- Try to be playful with the background.
- You don't need to frame the picture only vertically; You can go into horizontal as well as portrait mode.
- Draw an angle to hold your camera.
- Play and fill the background with the theme.
- Try to use natural light if possible.
Tips for Shooting in the Dark:

Here are some easy photography tips for beginners to take photos in the dark:
- Camera stability is essential. Otherwise, it will make the photo unstable and blurred.
- Increase ISO to its maximum limit. Take a few shots to test its effect.
- Increase the shutter speed as much as possible so that it allows more light to remain open in the camera's eye.
- If possible, keep the flash off. It will make it look more natural.
Keep the Camera Clean:
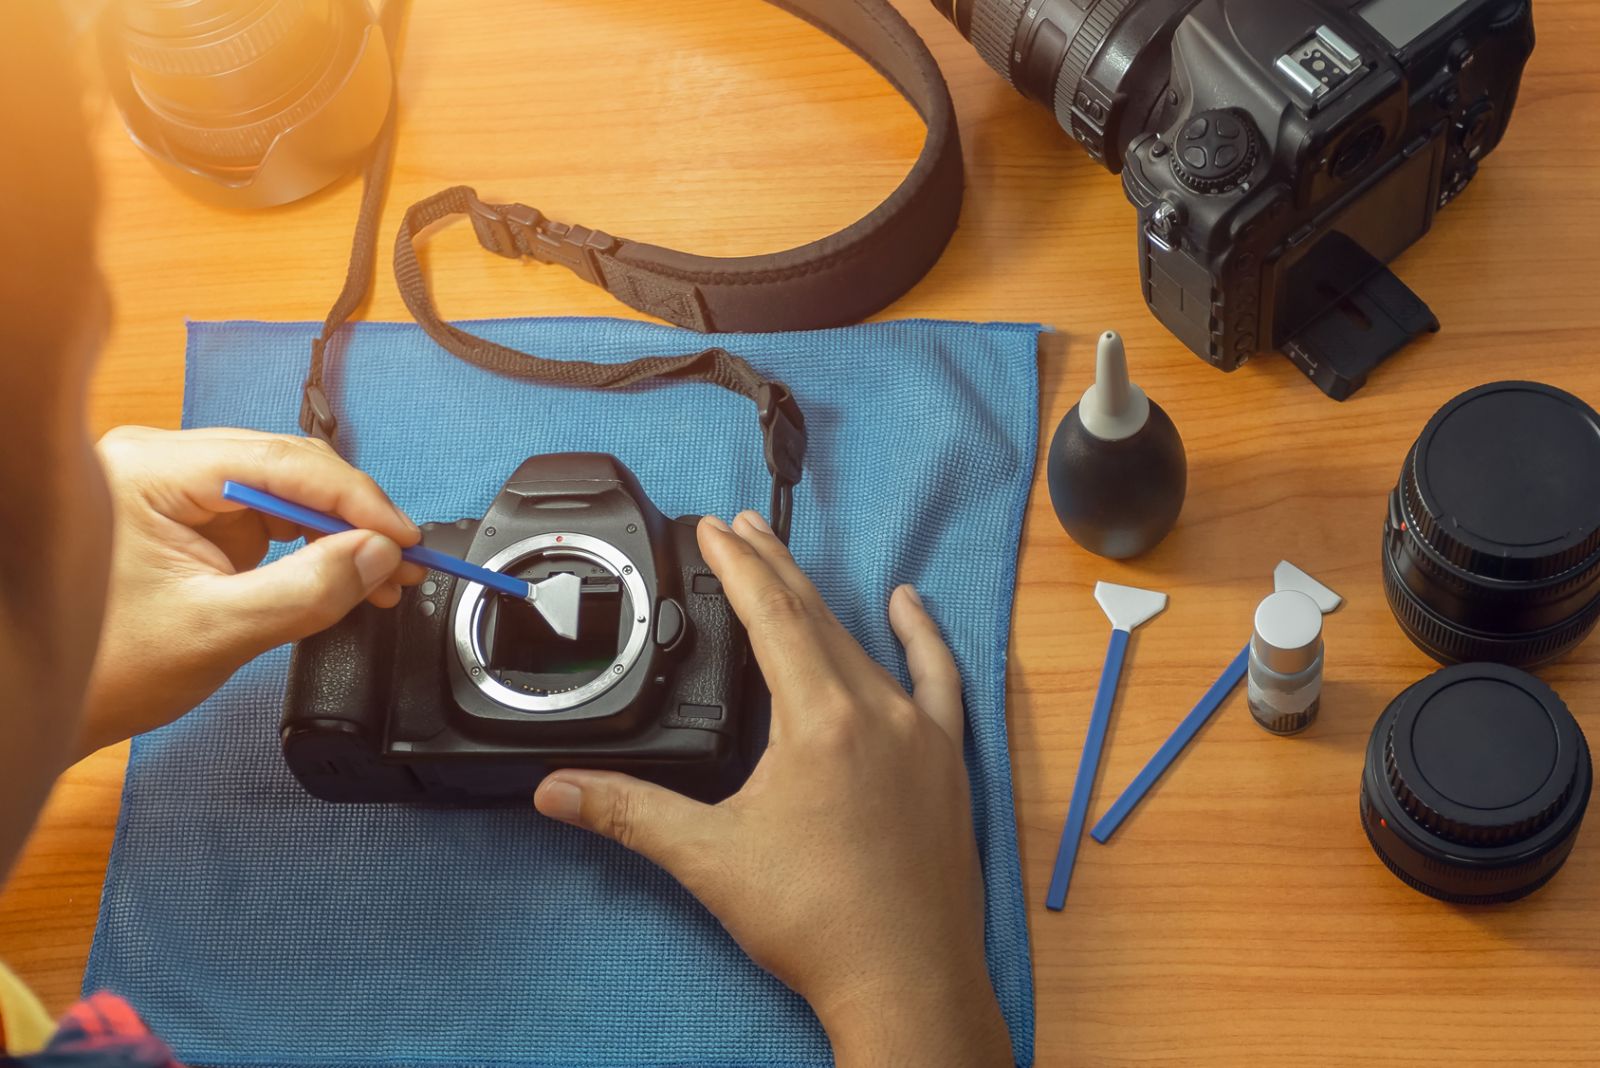
Keep the camera clean and protected to take photos efficiently and efficiently. Do not use a rough surface to clean the lens. Instead, use a microfiber cloth and a dust blower. Make sure the body and memory card is safe before use.
Here are some photography tips for beginners so that it can protect your camera from any damage:
- Prevent front lens from water and rain.
- Use gaffer tape to open buttons and boxes.
- Avoid handing the memory card with wet hands.
- Always have a memory card in the case.
- Keep the bag and pouch clean so that no dust can enter the camera.
- To avoid moisture you can put silica gel in the pocket.
- A damp microfiber cloth will work to clean the front lens and other lenses.
- Avoid changing the lens to dust and moisture.
Keep Smaller Memory Cards:

"One large memory card or several small memory cards?" This question surprises many people.
You can always keep a large memory card in the camera, but what if it gets lost? This is where small cards come into play. You can arrange for them to record the event, so you do not need to shuffle all the pictures. These are safe and easy to organize. It is easy to carry them during the journey. And once they are filled, you can easily replace them with others and find a safe place full of people to safety.
Photography and Creative Freedom:

One of the challenges that come with photography for beginners is that it is quite challenging to choose a category to master their career. However, where there is interest, there is a way. Try to take pictures of things you are passionate about. To elevate your skill level before deciding on your area of expertise, explore different styles of photography.
Always Carry Your Camera:
Here's one of the many free photography tips for beginners that you read: Smartphones, regular cameras, or DSLRs, always carry with you. This is the only way that you can capture those precious moments and those who know that you can get some clear creations!.
I hope this photography tips for beginners guide will help you in your photography journey. Great things are definitely waiting for you. All you have to do is take care, experiment a lot, and discover the unseen. A photographer is an artist, meaning that no rules stand in the way.
"Interested models click here to further information modeling profession."