13 Videography Tips for More Professional-Looking Videos
- 09 Sep 2020
- Models
Videography Tips for More Professional
Creating a polished, professional-looking video doesn’t have to mean spending on expensive videography equipment and filmmaking workshops. You can become a good videographer just by paying attention to a few key details that may not be obvious at first, and practicing your craft. These video filming basics will prove to be very useful, whether you’re shooting a more high-end production or simply creating a vlog that your viewers will love watching.
Videography Tips for Beginners
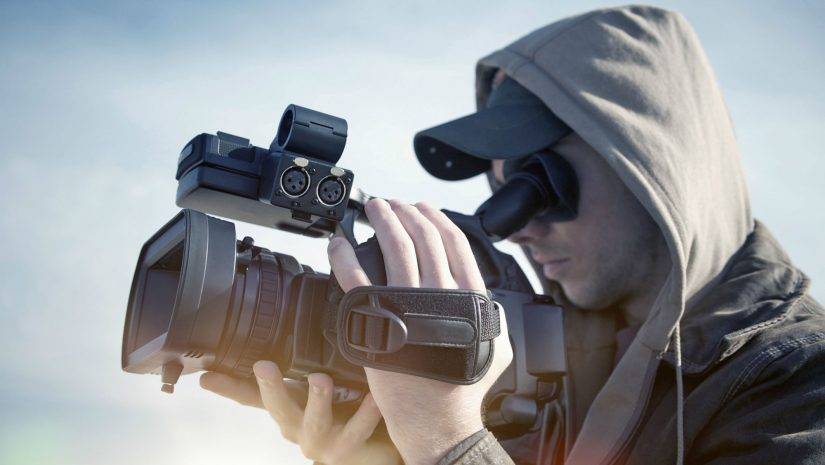
Image via Shutterstock
Many of these tips and techniques are timeless, which means you can still refer to these as your guide when you decide to pursue a career in videography and become a cinematographer. Try them out and learn them by heart. Along the way, not only would these help you produce more professional-looking videos that will impress your audience but they will also help you realize your potential and own creative filmmaking style.
Gather Your Equipment
Fortunately for beginners, we live in a time where high-quality digital cameras are made to be affordable for personal and recreational use. You can practice videography with gadgets that you may already have, like your smartphone, as long as you keep these simple things in mind:
- Use the back camera for better quality footage
- Shoot in landscape mode (horizontally instead of vertically)
- Turn on the overlay grid on your screen, if you have it, so you have a guide for keeping your phone level
If you have the budget for it, we definitely recommend purchasing a gimbal stabilizer for your camera for steadier handheld shots, an external microphone for better audio, and a reliable video tripod.
Plan Your Shoot
If you’re going to shoot a music video, commercial, or short film, you’ll have much more freedom to plan it from start to finish. To really do it like the pros, create your own storyboard with illustrations of your scenes in sequence. This will help you pre-visualize your final footage and outline your desired shots. It will serve as your guide during shooting and editing, plus it can help you determine the perfect time of day for shooting, your desired venues, and the right cameras to be used (in case you have several options) prior to filming.
On the other hand, if you’re covering an event, you’re going to want to be as ready as you possibly you can. For instance, in wedding videography, the wedding videographer should have a good idea about when and how to take videos of the bride, groom, and the wedding party.
A few helpful wedding videography tips to remember:
- Make sure that you know the timeline for the entire wedding day like the back of your hand — from the ceremony to reception program.
- Have a shot list prepared. This list should include the first kiss, the cake cutting, and other key moments that the couple would want to be immortalized.
- Just as there are wedding photography styles, there are also certain shooting styles for wedding videography. Stick to a specific style. Be consistent and use the right one that fits the couple and their event for the perfect cinematic wedding video.
Acting Tips for Bright Eyed Beginners.
Have Good Lighting
One of the biggest secrets to achieving professional-looking videos is to use lighting for your storytelling. During conceptualization, try to be intentional about your lighting. Determine the types of lights that you need and where you will place them to achieve the effect that you want. Or if you’re on a budget and are working with existing lights (like lamps and the sun), think of how you can make it work for your particular scene.
For example, if you want a dramatic-looking scene, you’ll want shadows in the right places. On the contrary, having plenty of light can add cheer and create an ethereal feel, depending on your light placement.
For more tips, learn about cinematic lighting techniques.
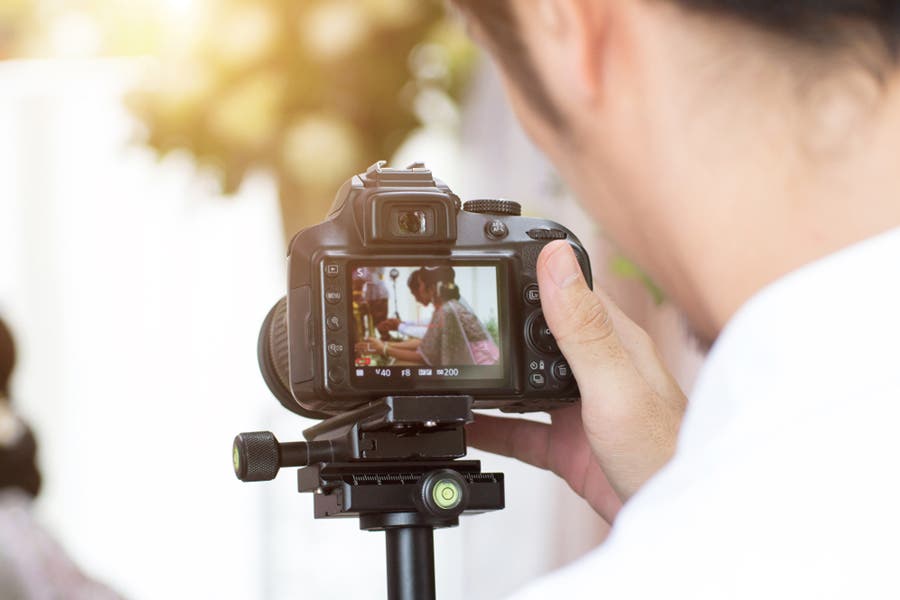
Image via Shutterstock
Keep the Background Simple
Don’t just film anywhere. Make an effort to use a simple background or improve it by removing as much clutter as you can. Many use solid-colored backgrounds — be it a wall, a bedsheet, or backdrop paper — and place themselves (or their subjects) a few feet away from it to avoid casting a shadow.
The key is to minimize elements that will make the scene look cluttered and take attention away from your subject. Although there are themes and storylines that benefit from having a cluttered scene, you may want to focus on improving your videography with the basics and then level up and experiment from there.
Improve Your Composition
A true pro may be able to spot the work of an amateur during the first few seconds of a video project, even if high-end camera equipment was used. So what gives them away? It’s their lack of proper framing and composition.
What many beginners don’t realize is that good videography (especially cinematography) involves more than just aiming your camera at your scene or subject. It involves arranging and allowing visual elements to tell your story and changing your camera’s framing in order to make the scene look aesthetically pleasing.
Among the most important cinematic videography tips and compositional rules is the Rule of Thirds, where you place your subject’s head a little higher (not at the center) of the frame and give them visual breathing or walking space when facing the sides. Another is to remain on the same side of two people talking when taking over-the-shoulder shots, as well as having a foreground and a background to create depth within a scene.
Some of these are similar to basic photography compositional techniques, so you may want to read up on those.
Observe Proper Camera Placement
A common mistake that beginners make is not minding how the lens’ focal length and the camera’s relative distance from the subject are affecting the look of the scene. For close-up shots, never place your camera close to your subject as this can create unattractive facial distortions and make it more challenging for you to crop out the edges of the scene. It’s much easier to place your camera a couple of feet away and carefully zoom in with your camera lens.
But before you go and zoom with your camera, know that you should do this optically (with the lens) instead of digitally (by pinch-zooming your screen) as the latter will degrade the quality of your video clips and possibly make them look pixellated.
Use Manual Focus
While the autofocus feature on your camera can be very handy, it can ruin your recording when it goes in and out of focus while trying to locate your subject in dimly lit scenes. The key is to use the exposure/focus lock on your smartphone or switch to manual focus on your standalone camera, so you can use your own eyes and set the focus yourself.
Setting the focus also allows you to add cool effects to your video, such as with the use of the rack focus technique where you can focus on different objects successively (with the help of a shallow depth of field blurring everything else out) to direct your viewer’s attention. When used properly, it can be a very powerful tool for storytelling.
Set Your White Balance
A real challenge that many professionals go through is temperature and color correction. If you’re using more than one camera to record the same scene, it’s possible for the cameras to have different default color temperatures. Can you imagine how distracting it would be to see alternating bluish and warm yellow clips? Set the white balance on all cameras before recording to produce more consistent, professional-looking clips. This will help speed up the editing process and reduce post-production costs in the future.
Bonus Tip: The “correct” white balance is subjective and can depend on your desired output. For example, you could intentionally set it to look even colder to give the scene a more chilly or scary vibe. Use it to work for your story, as long as you practice consistency in each unique scene.
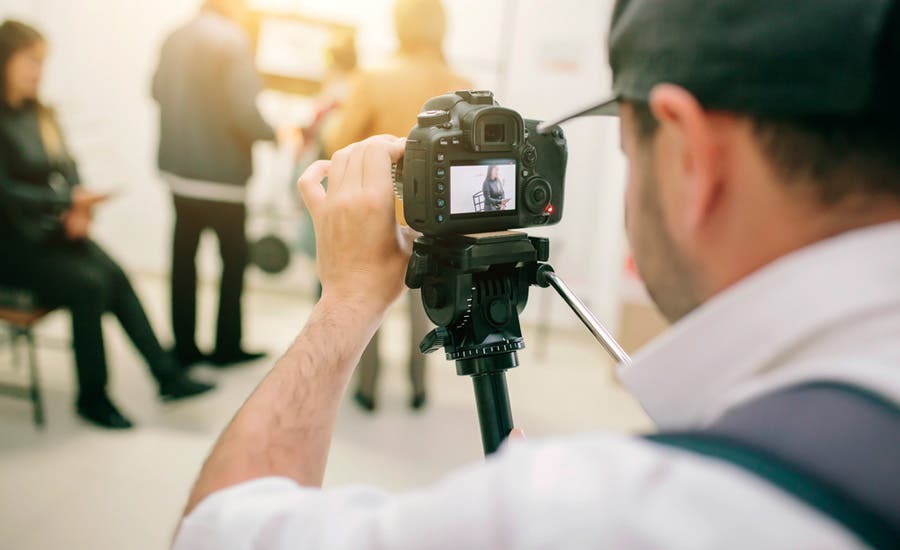
Image via Shutterstock
Evenly Expose Scenes
Another problem that you may encounter when using multiple video cameras to film a scene is ending up with clips that don’t look the same in terms of exposure. The same scene can look darker in one camera and brighter on the other if you don’t set the same exposure settings, like your frame rate, ISO levels, and aperture. This is why dedicated cine lenses have t-stops, which stand for exact aperture values, instead of the more theoretical f-stop value on regular photography lenses.
For beginners, it may be easier to shoot in controlled settings where you can have the same lighting no matter the time of day and use the same camera with the exposure locked. It may take longer to record, but at least it will save you the headache of correcting your exposure during post-production.
Bonus Tip: If you have to shoot outdoors, do it quickly and on a clear day so the sun doesn’t end up setting on you and the clouds don’t get in the way of your lighting.
3 Tips For Matching Your Glasses With Your Outfits.
Apply Cinematic Techniques
A truly professional-looking video project incorporates a mix of basic camera movements that will not only enhance the storytelling but will also keep your viewers interested. If you want to bring your videography to the next level and really impress your audiences, you may want to apply a few cinematography techniques.
The techniques you choose to use will greatly depend on your level of creativity and how you want to present the scenes, but it’s always ideal to choose just the essential few that will best tell your story. You don’t want to overdo them and end up overwhelming your viewers with the visuals rather than with your story.
Avoid Shaky Shots
Whether you’re panning, doing a crane shot, or dollying from side to side, you don’t want your shots to look shaky. Aside from possibly making your footage look like home videos, it could make your viewers feel seasick. Keeping your camera on a tripod or any steady surface is key.
Once your camera is set up, try not to move your camera unless you have to. When you do have to start panning or zooming, treat your camera as a full cup of coffee — keep your speed consistent and don’t make sudden stops.
Time Your Shots
Here are a few tips from professional cinematographers that you may not find in many how-to articles: keep your shots longer than 5 seconds but not longer than 10 seconds to effectively hold your viewers’ attention. At the same time, remember to keep your shots steady for at least 10 seconds, which means no panning or zooming before then. Many beginners find these to be extremely helpful in minimizing camera movements, reducing recording time, and keeping their sequences simple during post-production.
Shoot to Edit
This particular “pro tip” simply means that you should think like an editor when filming. When recording a scene, you’ll want to capture several angles and a few “safety shots” so you’ll have choices for later. This will save you time and effort that you might otherwise spend on refilming and prevent you from settling for subpar shots that will make your work look unprofessional.
And when you edit, use a simple video editing software that you can get used to before moving on to more complicated programs. You can learn from our video editing tips, which includes simple yet professional techniques aside from the simple cutting, clipping, and correction of video clips and audio levels.


