How Can I Make My Photos Look Professional? - Modelfactory
- 17 Apr 2022
- Tips
1. Choose Your Topic And Understand
Every picture tells a story, and the star of that story is the subject of your picture. As a star, your subject plays a big part in determining how best to apply the other elements needed to take a professional photo. When photographing a landscape, you need to use a different approach than a portrait in the studio, and both will differ from an action shot at a sporting event, for example.
In addition to understanding the type of picture you are taking, you should also approach each shot with a specific objective in mind. Small changes to the way you frame, pose and light your subject can have a big impact on the final product, and to get favorable results, you should always start with a goal in mind.
2. Use the Right Camera and Photography Gear
Getting started in photography can be intimidating when you look at the extensive setup for some photo shoots, but the good news is that you don't need a professional setup for professional-level photography. While expensive cameras and accessories can help improve the quality of your photos, you can still create beautiful shots on a moderate budget. Here are some tips when it comes to your photography gear:
Honor Your Phone's Camera
One benefit of the extended use of phones as cameras is the rapid increase in lens quality. If you have a modern smartphone, you might be surprised to see the high quality pictures you can take. The phone also has ways to simulate camera effects, such as reducing your depth of focus.
Take Advantage Of The Right Lens
Changing your camera lens is a quick way to radically change the types of photos you can take. A basic adjustable lens can help you take professional-looking photos in many different settings. However, if you want to focus on a specific photography style, you can significantly improve your results by finding the right lens.
Buy A Tripod For Still Shots
A tripod is an economical way to improve the quality of the pictures you take. In addition to allowing you to trigger shots from afar, a tripod holds your camera steady to avoid blurry photos.
Understand Your Limits
Although most modern cameras can produce professional-looking photos, it is important that you stay within the limits of your equipment or experience. If you find that you're struggling to produce the image you're looking for, it may be time to assess your current setup for a potential upgrade.
3. Adjust Your Lights
Getting the right lighting is the most effective way to transform a photo from everyday quality to professional quality. Lighting allows your subjects to pop, makes your images more dynamic and helps you set a specific mood. Mastering lighting is one of the most important skills you can learn to improve the quality of the pictures you take. If you're new to using lighting to enhance your photos, these tips can help you hone your skills:
Take Advantage of Natural Lighting
Using the sun to illuminate your subjects is the fastest way to illuminate a scene, and you should always try to maximize the benefits of natural light. The best natural light for photographs is in the hours after sunrise and the hours before sunset, known as golden hour.
Lighten Most Portraits From The Front
The key to a professional headshot is to make sure there are no harsh shadows on your subject. A headlamp facing your subject, assisted by a soft fill light to balance the shadows, creates a striking picture.
Use Strong Rear Lighting For A Silhouette Effect
Although it's generally recommended to place light sources behind you, by placing your subject between you and a strong light source, you can create an attractive and professional silhouette shot.
Place a Reflector To Redirect Natural Light
When using natural lighting, you lose control over the direction of your light source. A reflective direction is an effective way to redirect light that is striking your subject to help fill in your lighting profile.
Use A Diffuser To Soften Harsh Light
Too much direct light on a subject creates distinct shadows. While this can be useful, if you want to reduce the effect, placing a diffuser over your light, or positioning one to capture natural light, blocks out direct light and makes shadows more gentle.
4. Focus on Framing
The way you place the subjects in your photo is an important factor in taking a professional photo. When framing a shot, the choices you make can make your image more interesting, the final product more appealing, or a little different focus as much as possible.
Find Unique Angles
One thing that sets professional shots apart is that they show the world from an interesting perspective. Look for ways to find new angles that you may not have considered before, such as climbing a ladder to take a picture from a higher angle. This can be especially useful when taking an interesting picture of a person if you want more than just a simple headshot.
Choose A Focal Point
When someone takes a picture of you, you don't want them to be confused about where to look. The subject of your image should be framed in such a way as to ensure that it is the first thing the viewer sees when they see it.
Use Leading Lines
In addition to prominently showing the focus you want in a photo, you can use surrounding elements to naturally draw attention. If you set up a shot so that straight lines are pointing at your subject, your audience will naturally follow those lines to your focal point.
Follow The Rule Of Thirds
One of the most common mistakes amateur photographers make is always centering their subject in the middle of a frame. The rule of thirds involves breaking the frame into thirds with two horizontal lines and two vertical lines, and then placing your subject at one of the points of intersection so that it is actually slightly off-center.
Fill Frame
Wasted space on the frame isn't just distracting - it can also reduce the impact of your photographs. Frame filling is a technique where you allow your subject to fully capture the shot, potentially even breaking the boundaries of the frame, and it's a great way to make your shot look professional.
5. Learn to Customize Your Settings
The good news about modern cameras is that they've gone so far as to allow you to take incredible photos completely automatically. However, if you want to hone your skills and get professional-level photos, learning how to manually adjust the settings on your camera and lens is essential.
The two most important settings when you start taking manual photos are aperture and shutter speed. The aperture of your lens refers to how wide it opens when taking a picture, and the two most notable effects are the amount of light and depth of focus. The wider your aperture, the lighter your shots and the narrower your depth of focus, allowing for shots where your subject stands in focus while the foreground and background are blurry.
Shutter speed is how long your shot is exposed to light, or how long the shutter is open on the camera. A longer shutter speed allows for eye-catching blur effects and lets in more light. A shorter shutter speed requires more light because the exposure is shorter, but it also allows for crisper shots – even for objects in motion – and when using a wider aperture in bright light. Prevents your image from getting washed out.
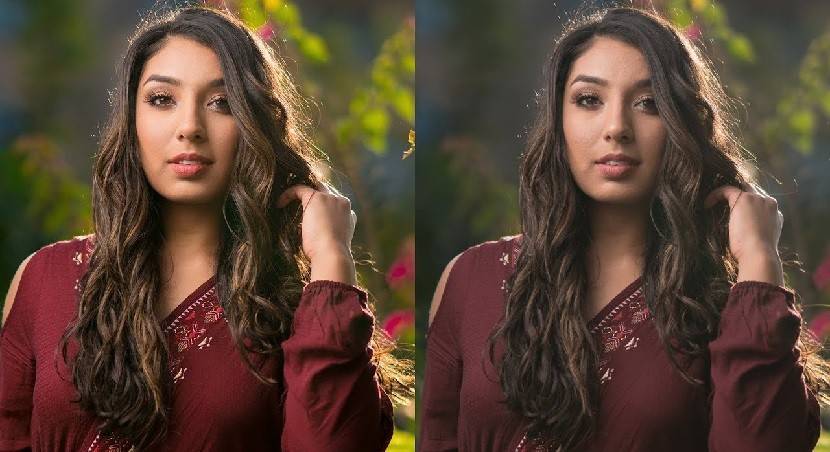
6. Practice Using Photo Editing Software
One thing that surprises many amateur photographers is that most of the incredible pictures you see from professional photographers don't look as good when taken. While it's important to understand how to set up your camera, arrange your lighting and frame your shots, the final touches that really make a photo professional usually happen in a photo editing program.
Photo editing allows you to have a lot of control over your final image. From adjusting lighting or contrast levels to enhancing or changing the colors on display, editing provides the ultimate polish that makes professional pictures stand out.
Just as filters on social media apps allow for quick touch-ups that enhance your pictures, editing software often has simple adjustments you can apply with just a few clicks. However, for best results, learning to apply the adjustments manually gives you complete control over your final product.
Tips For Taking Professional Photos
To be proficient at taking professional photographs, you need to take into account many different things when taking out your camera. Follow these tips to start improving your skills:
- Start shooting more often to learn through practice.
- Follow professional photographers on social media.
- Watch tutorial videos to learn new techniques.
- Find a mentor to learn from.
- Create a portfolio of your best work to share with potential clients.
- Start a social media account dedicated exclusively to sharing your photos.
- Take part in photography challenges or use online prompts to try out new types of shots.
- Experiment with different themes, settings and tools to find the style you like.
- Use an online monitor calibration tool before editing digitally.
"Aspiring Models Click Here for More Information on the Modeling Profession."


